Framing
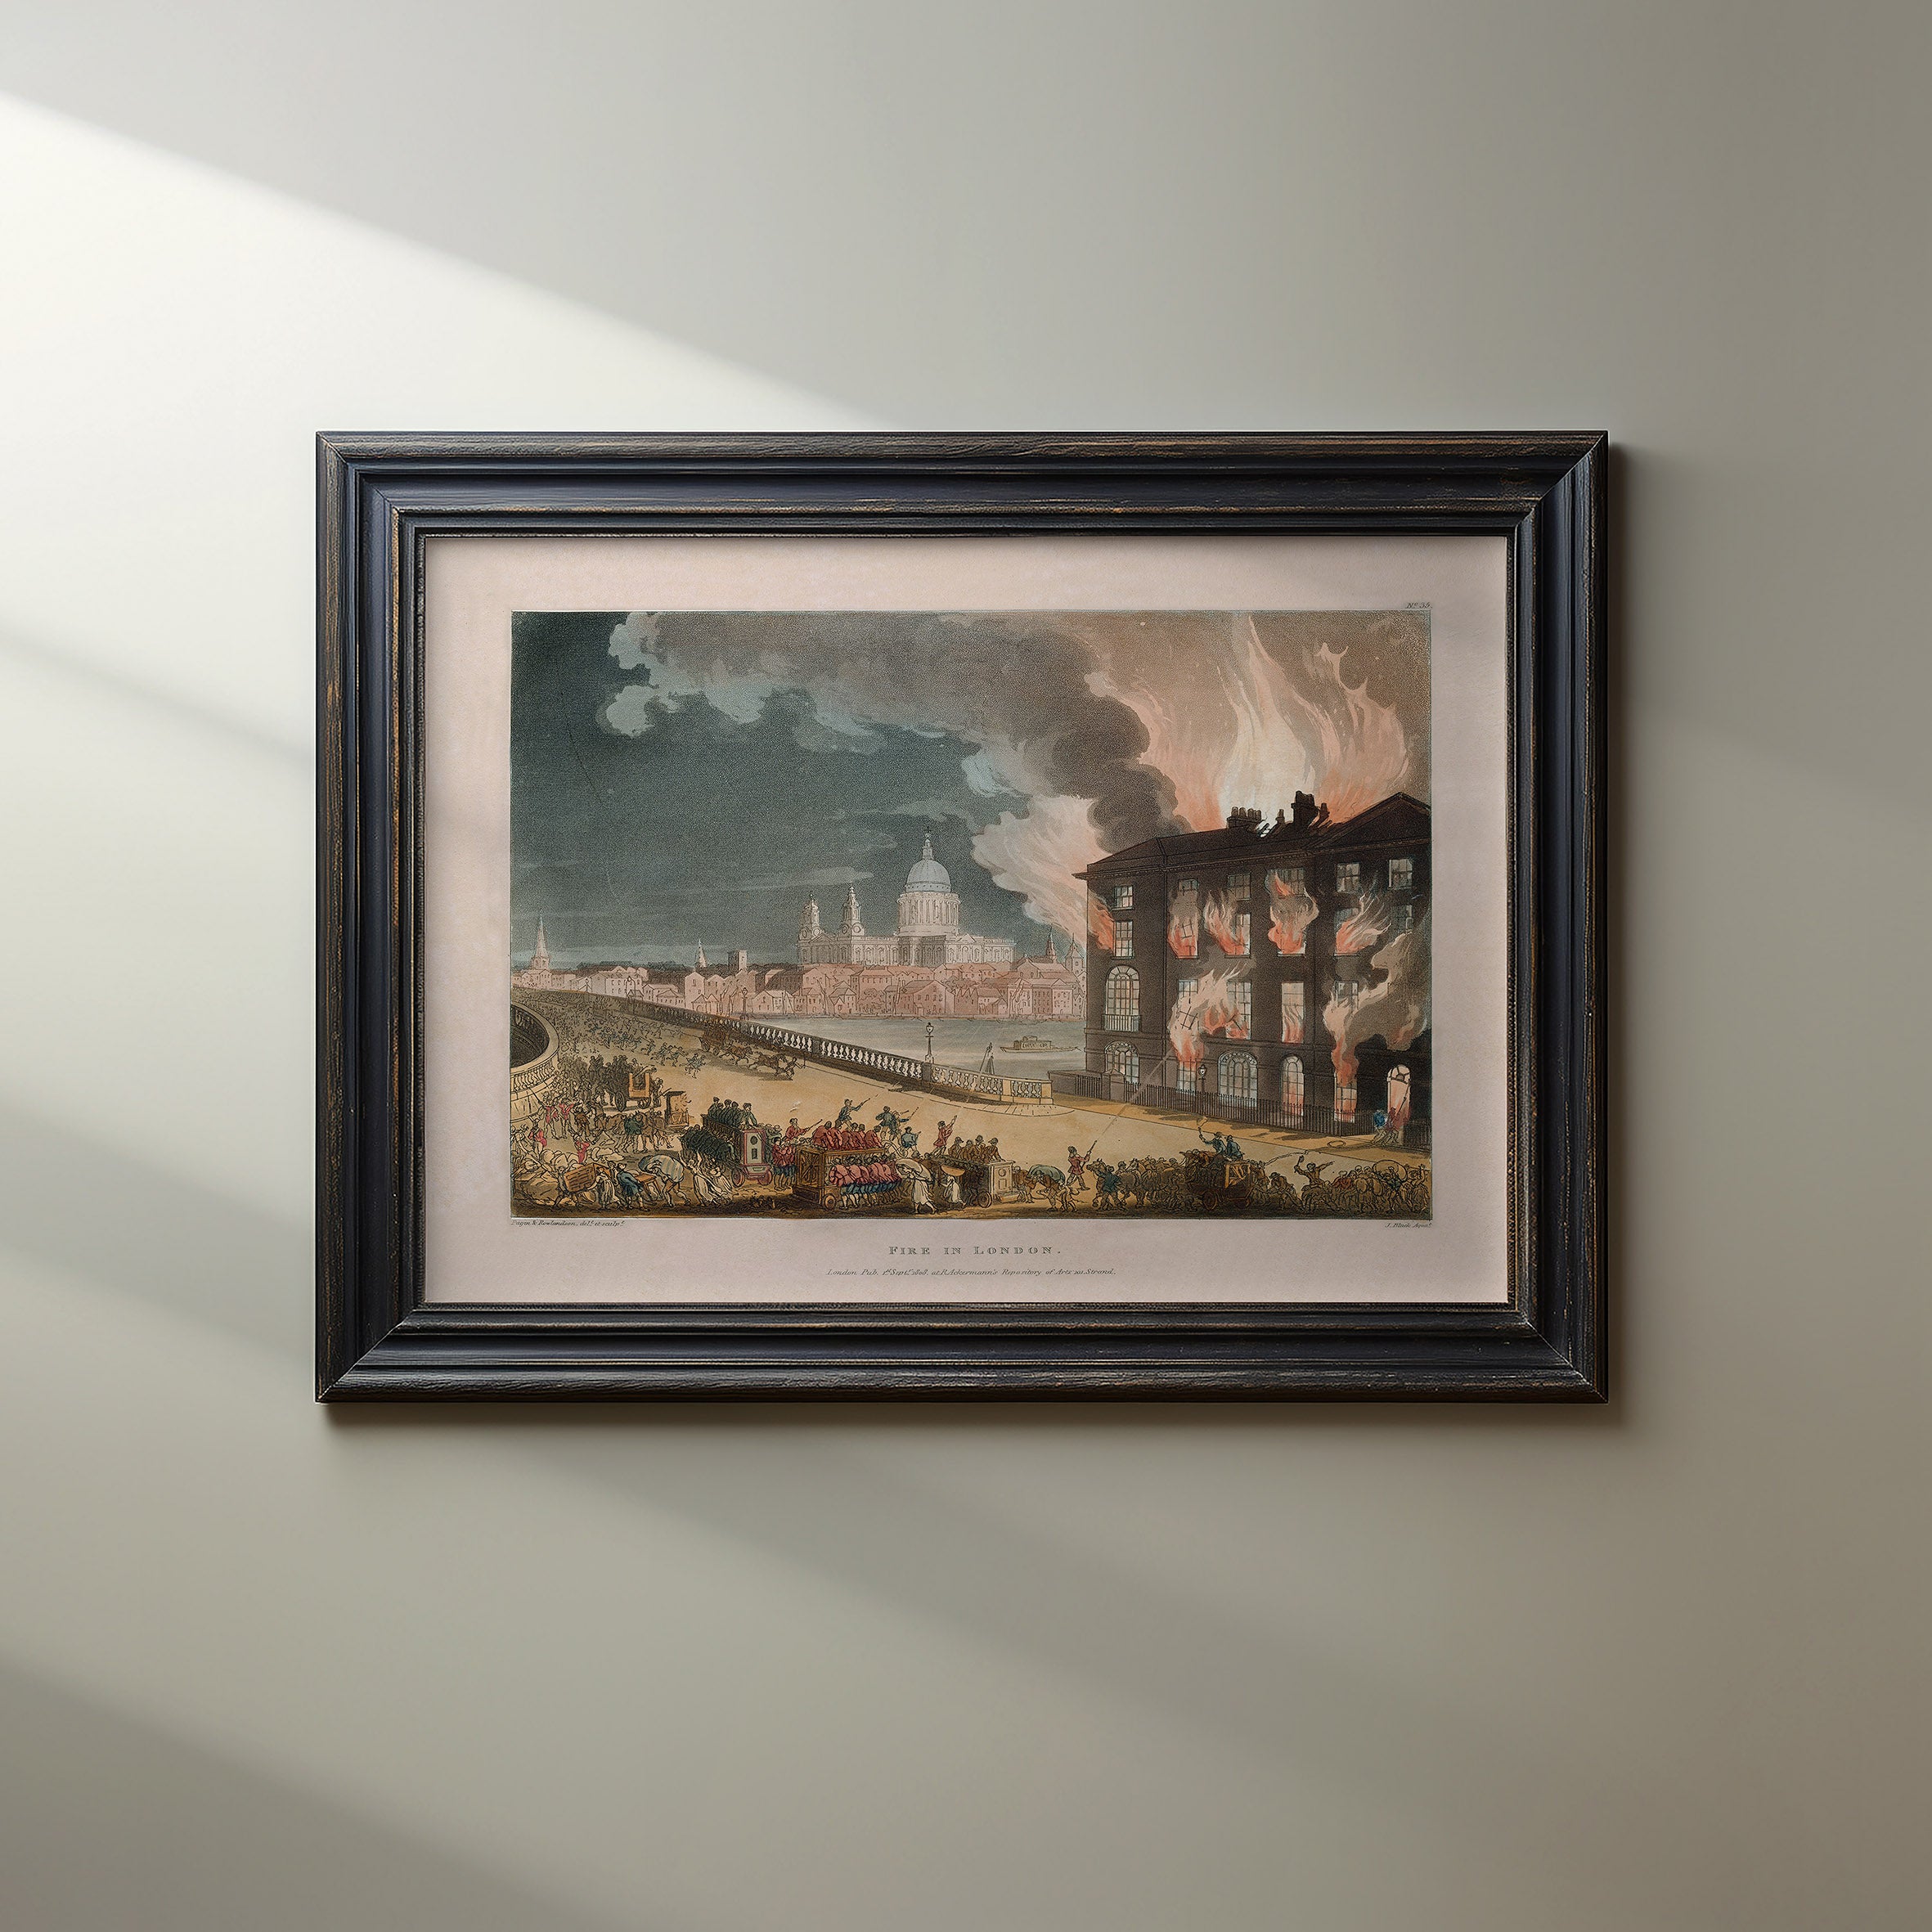
Box frame with float mount
This is where the artwork is laid on top of a mountboard so all the edges are visible. To keep the glass away from the surface of the artwork we use fillets (spacers). This method works well for etchings, and screen prints but is not suitable for all types of paper.
Negroni Painting by Frankie Thorp framed in a wooden frame in a painted finish with anti-reflective glass
Framing
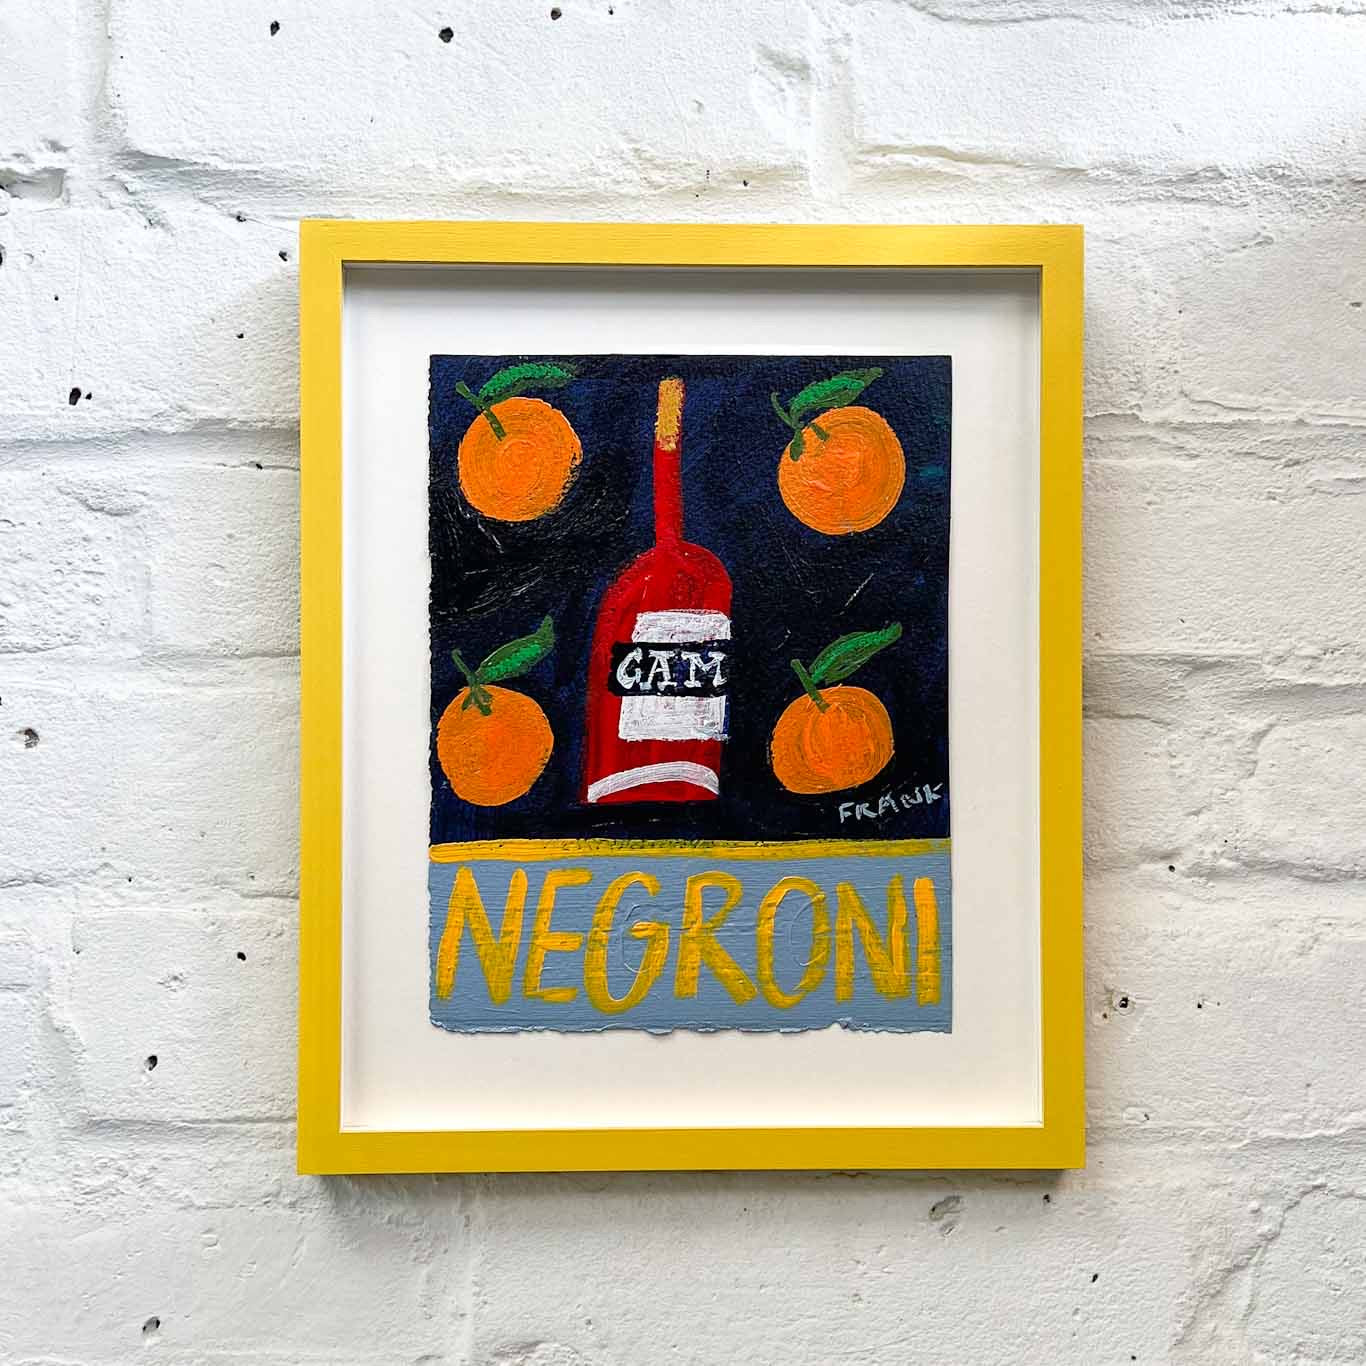
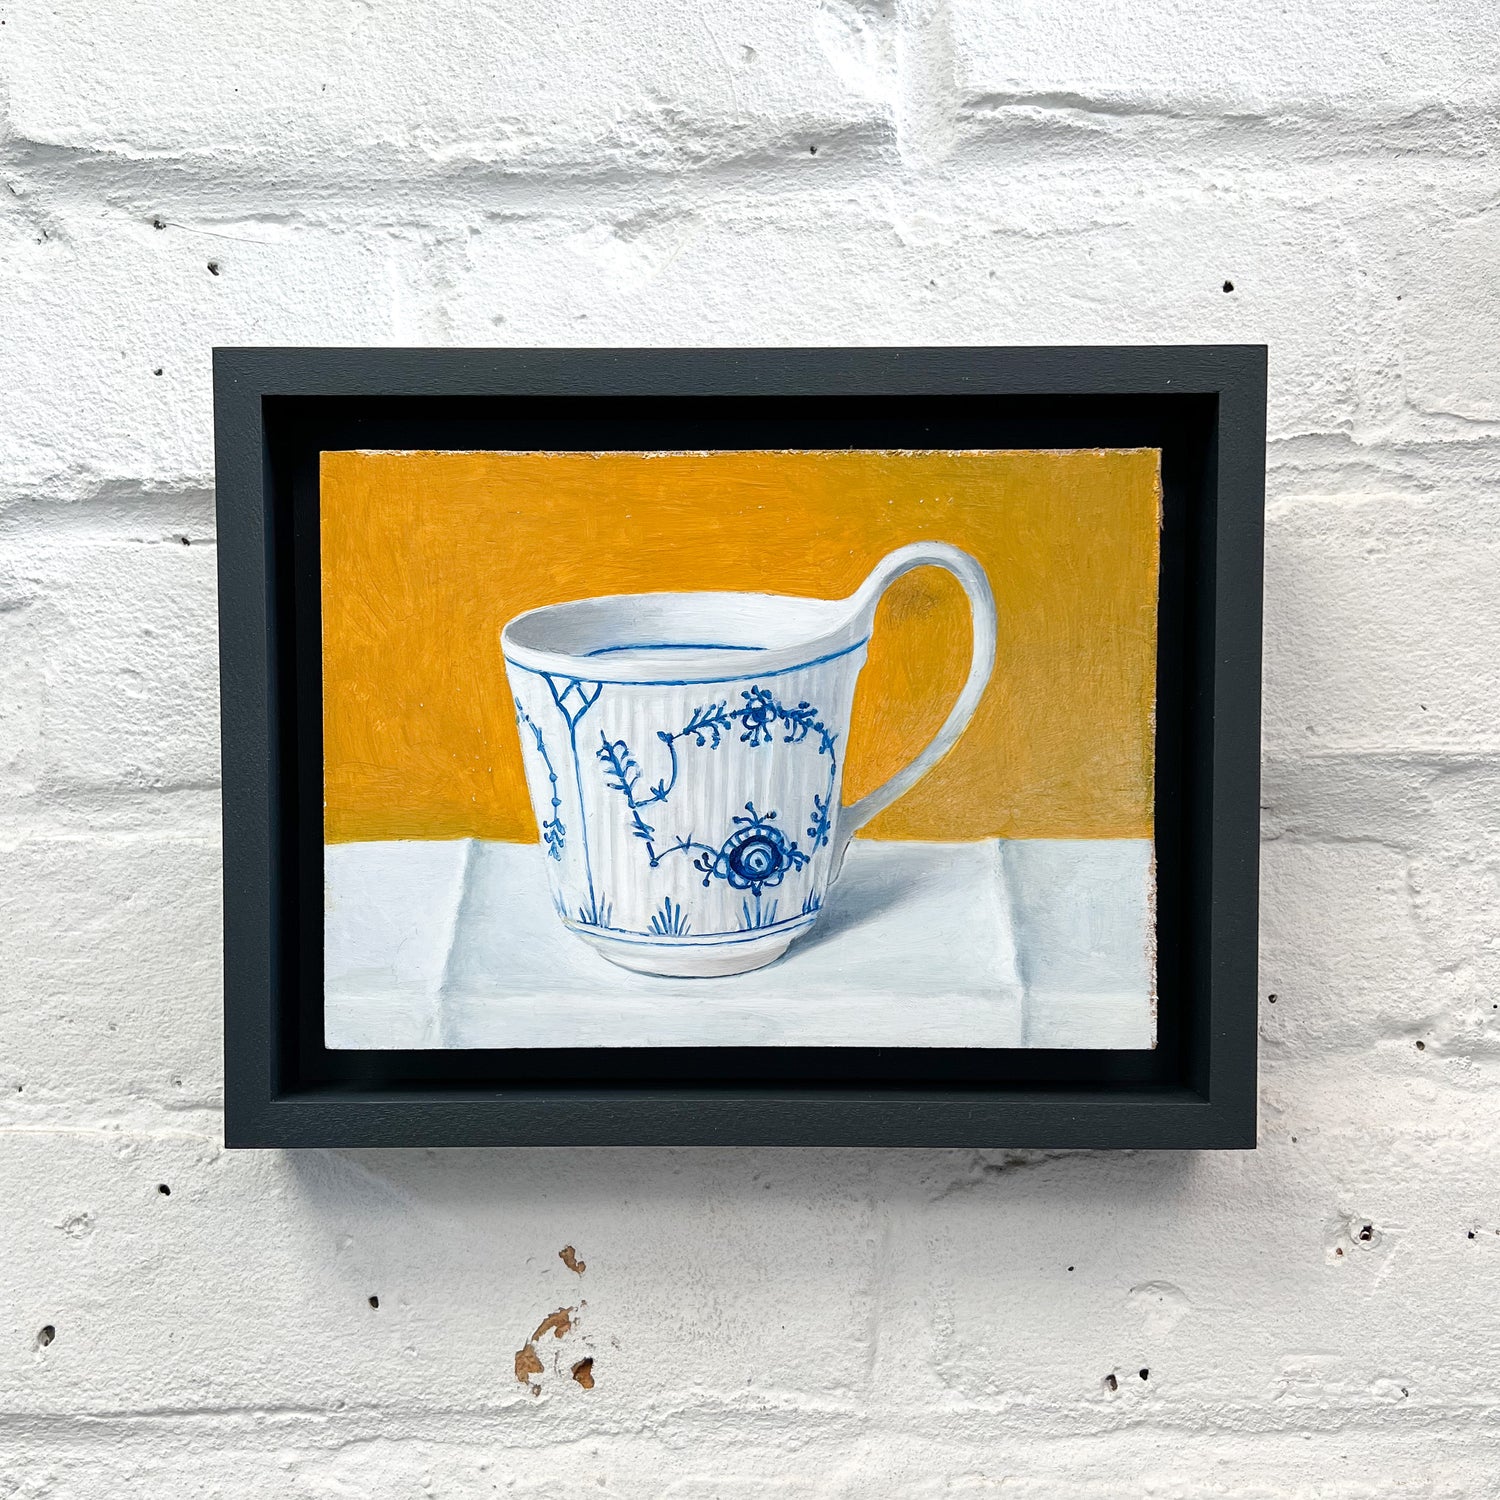
Box Frame No Mount
The frame comes right to the edge of the artwork. Fillets (spacers) keep the glass away from the paper. This method can work well for prints where there is there is an even border.
Framed with a wooden frame in a painted finish with anti-reflective glass
Framing
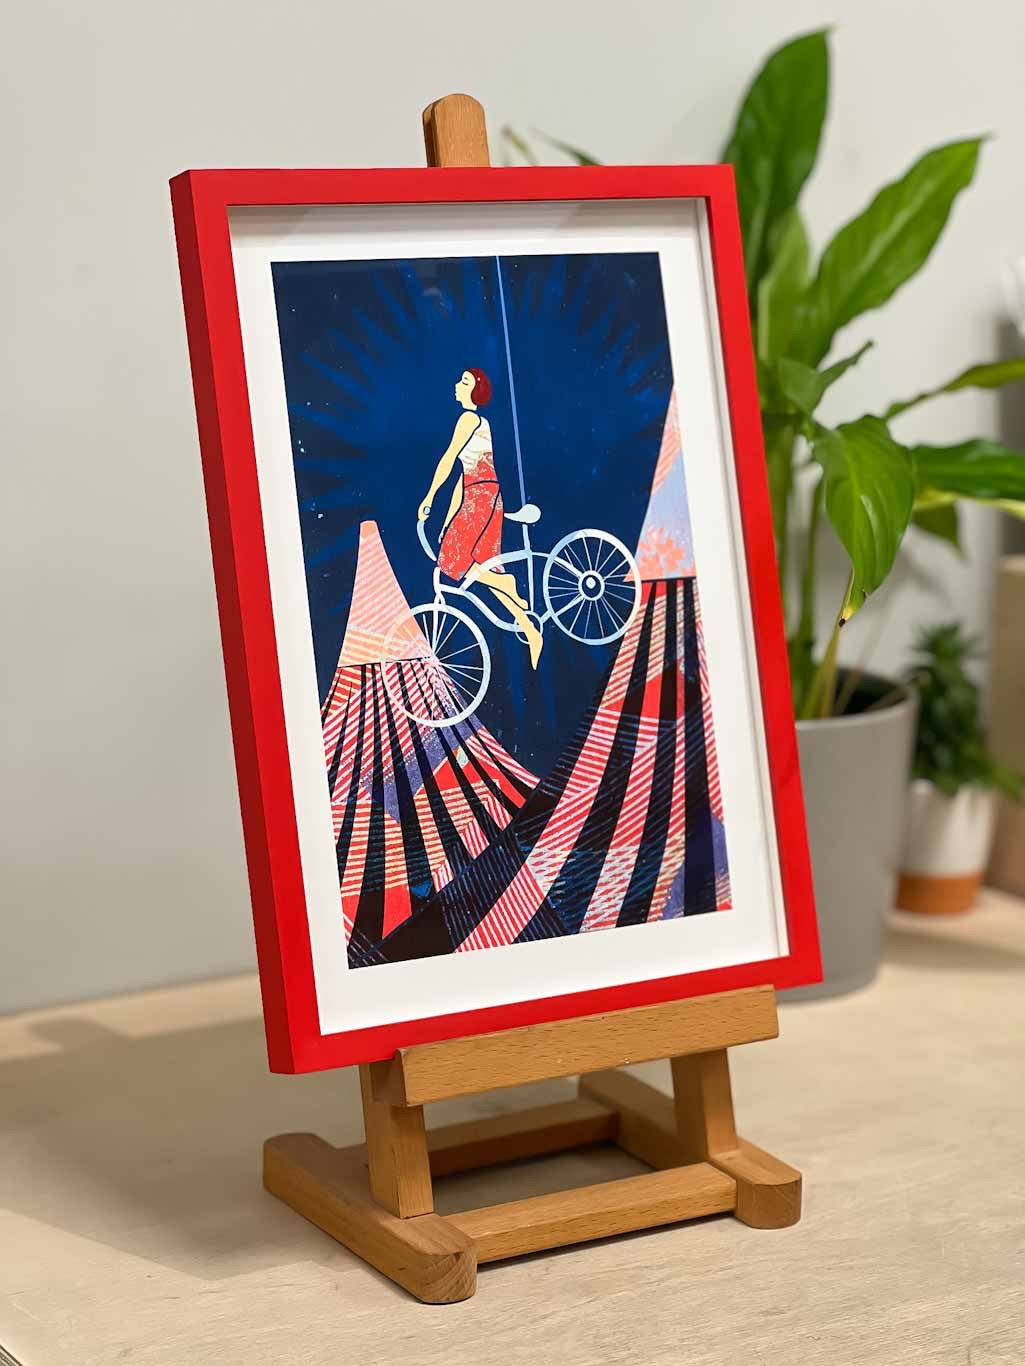
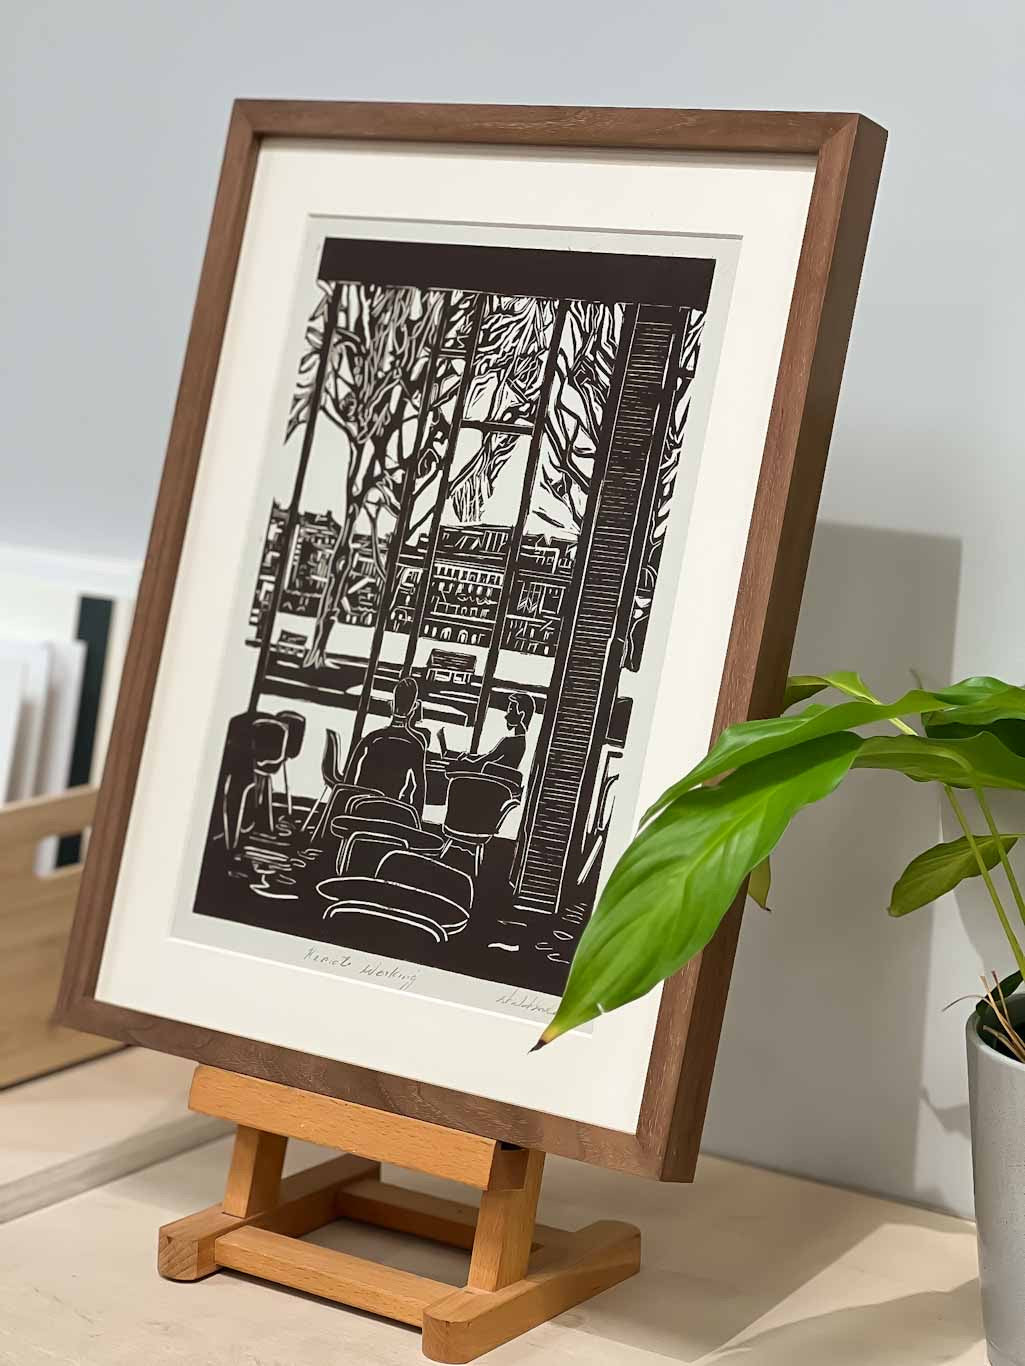
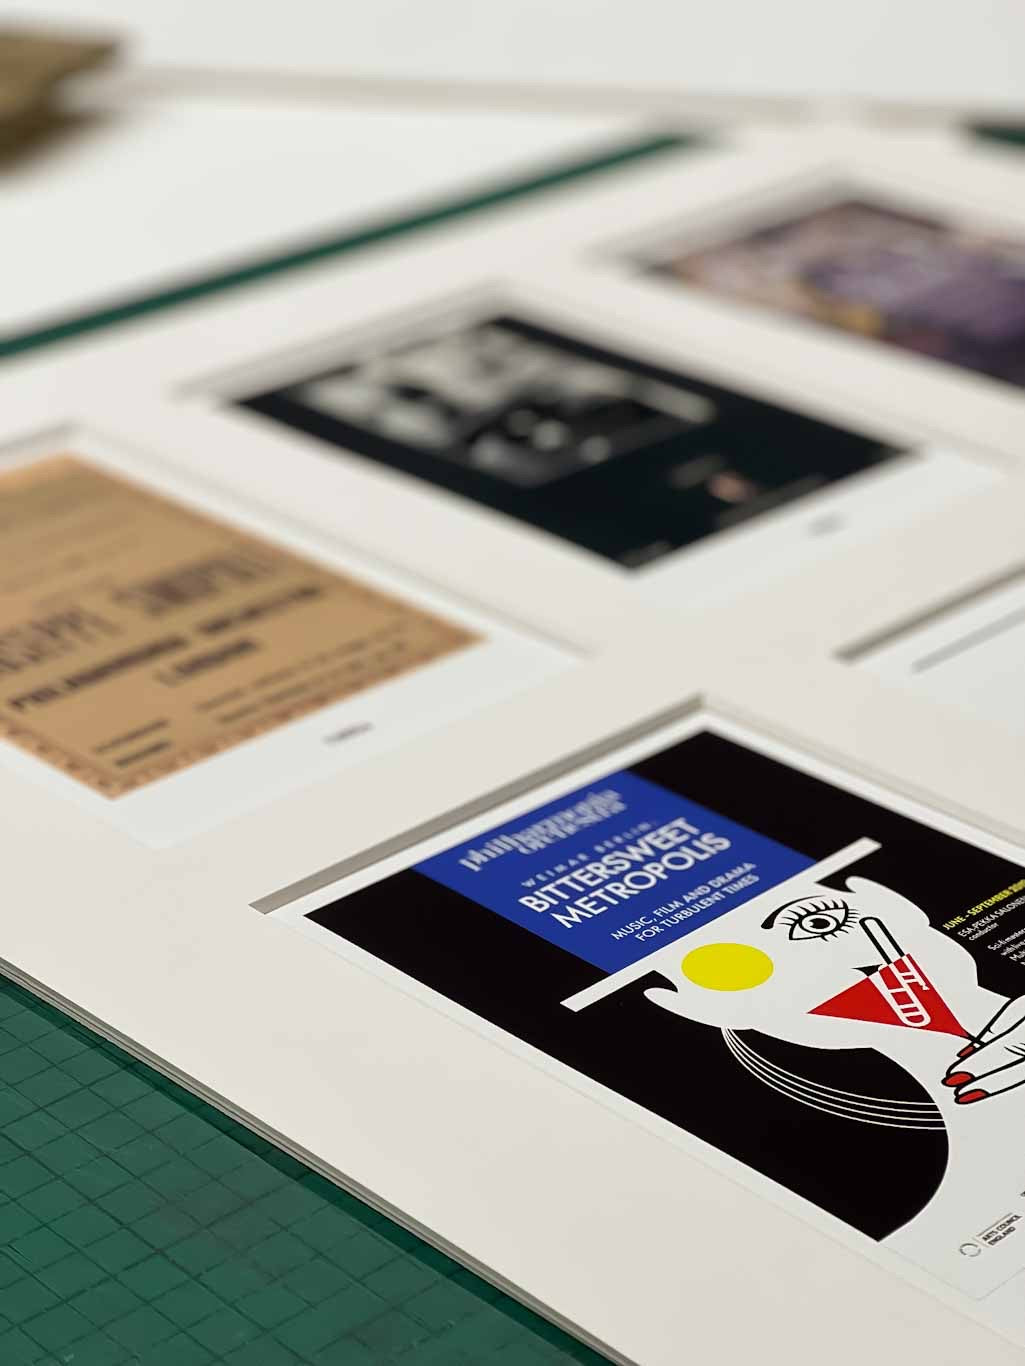
Frame with Window Mount
One of our most popular options, a window mount adds space around the artwork and acts as a barrier so the glass is not resting directly onto the surface of the picture.
Framed with a solid walnut frame with anti-reflective glass
Framing Canvas
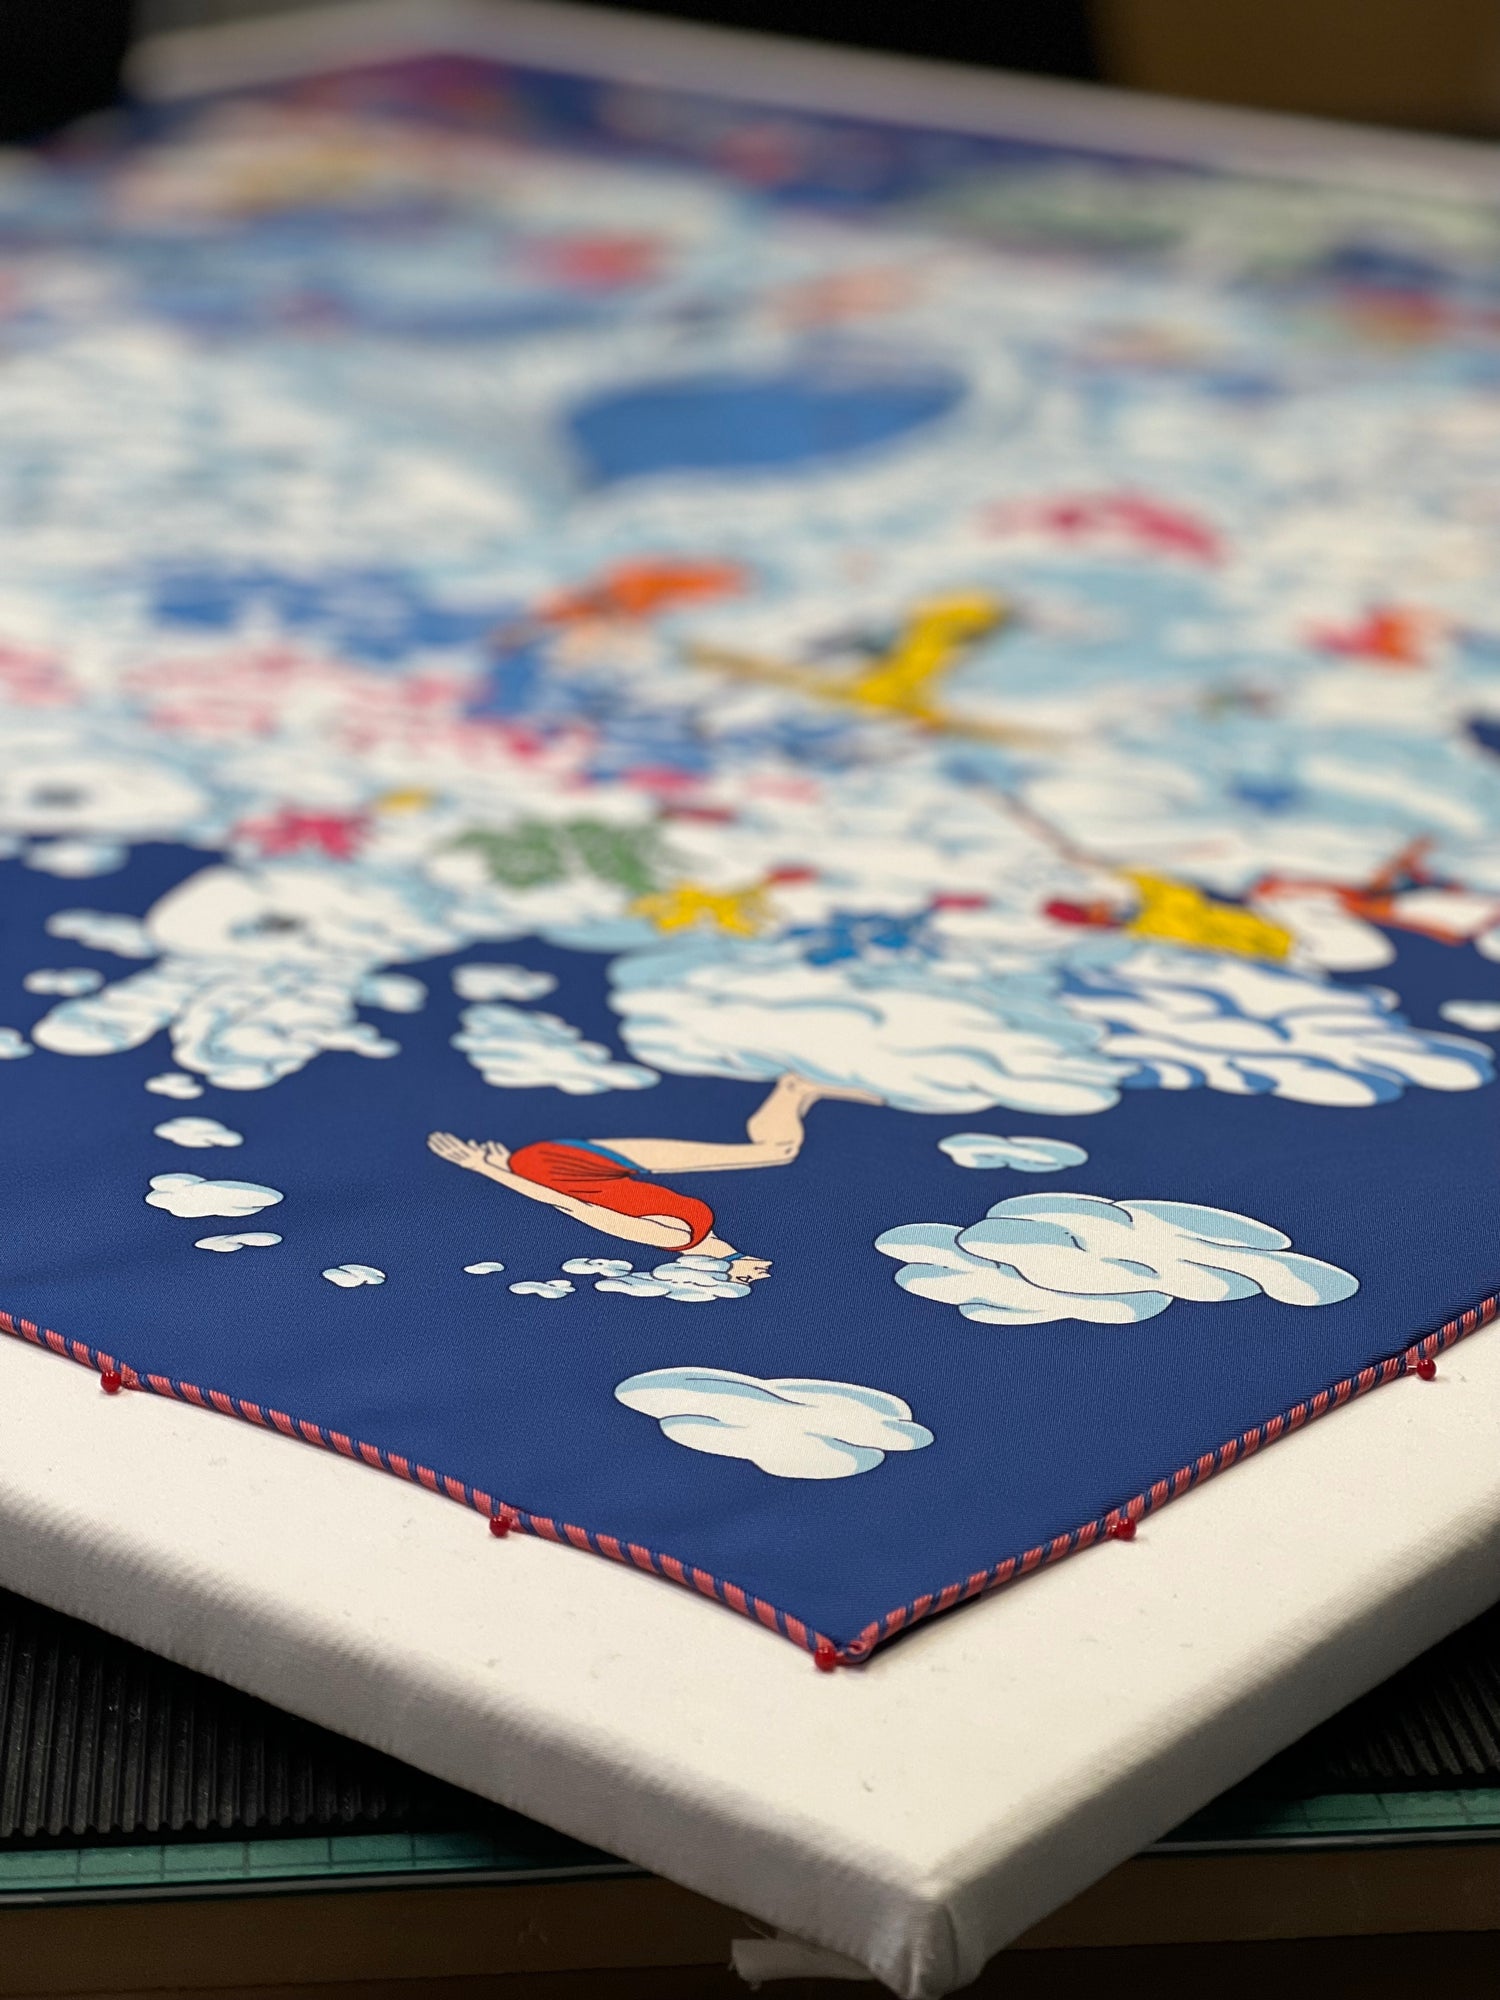
Canvas Tray Frames
A minimal and contemporary method of framing canvases. A small gap is left around the canvas giving the effect of the canvas floating inside the frame.
Framed in our wooden tray frame in a painted finish.
Mounts
Mounting
We cut mounts for all purposes, whether you need just one or one hundred mounts we can easily accommodate your requirements. We can even cut multiple windows if you have a collection of images you want to keep together. We use a computer controlled mount cutter for excellent precision and quality. All our boards are conservation or museum standard to ensure maximum protection for your artwork.
Framing
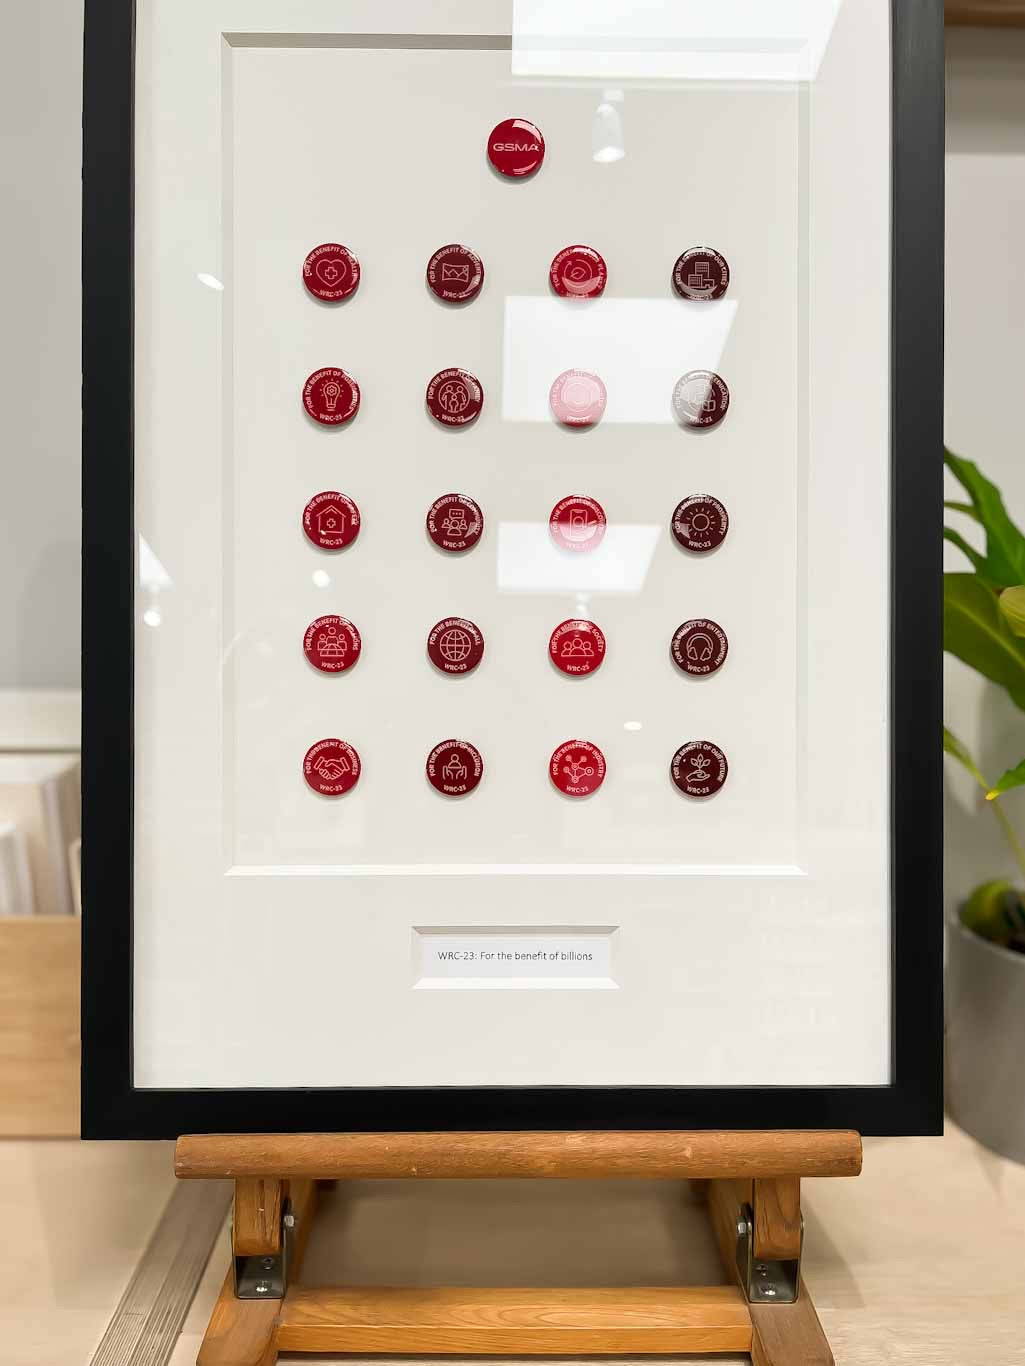
Object Framing
Over the years we have framed a variety of objects. Most require a box frame with fillets.